
Remote-Astronomy Blog
Latest blog entries:
E-Eye - Equipment change 2019
After 2 years at e-eye, the manager of the site - Jose - convinced me to upgrade my kit to something with more focal length.
So after studying on what's on the market, i decided to go with a Planewave CDK 12,5". That's because it seemed to be the most hassle-free optical and mechanical design. The primary mirror is fixed, so the secondary can be adjusted only. However, 2541mm focal length seemed a bit too much but with the reducer, this gets down to ~1600mm.
The scope was bought at Baader Planetarium with all the extra's available: Electronic Focuser, Delta-T heather/fan controller, reducer, upper dovetail bar.
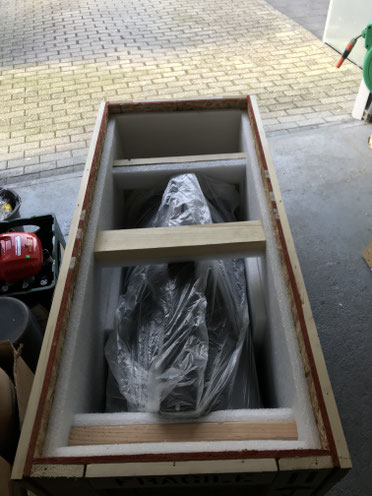
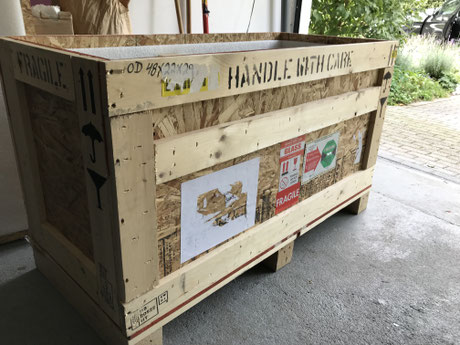
It got delivered with a huge and heavy box which i shipped to e-eye.
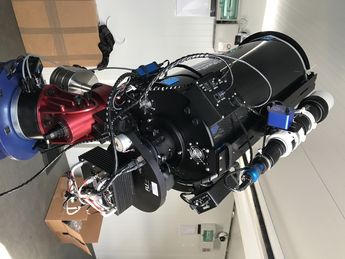
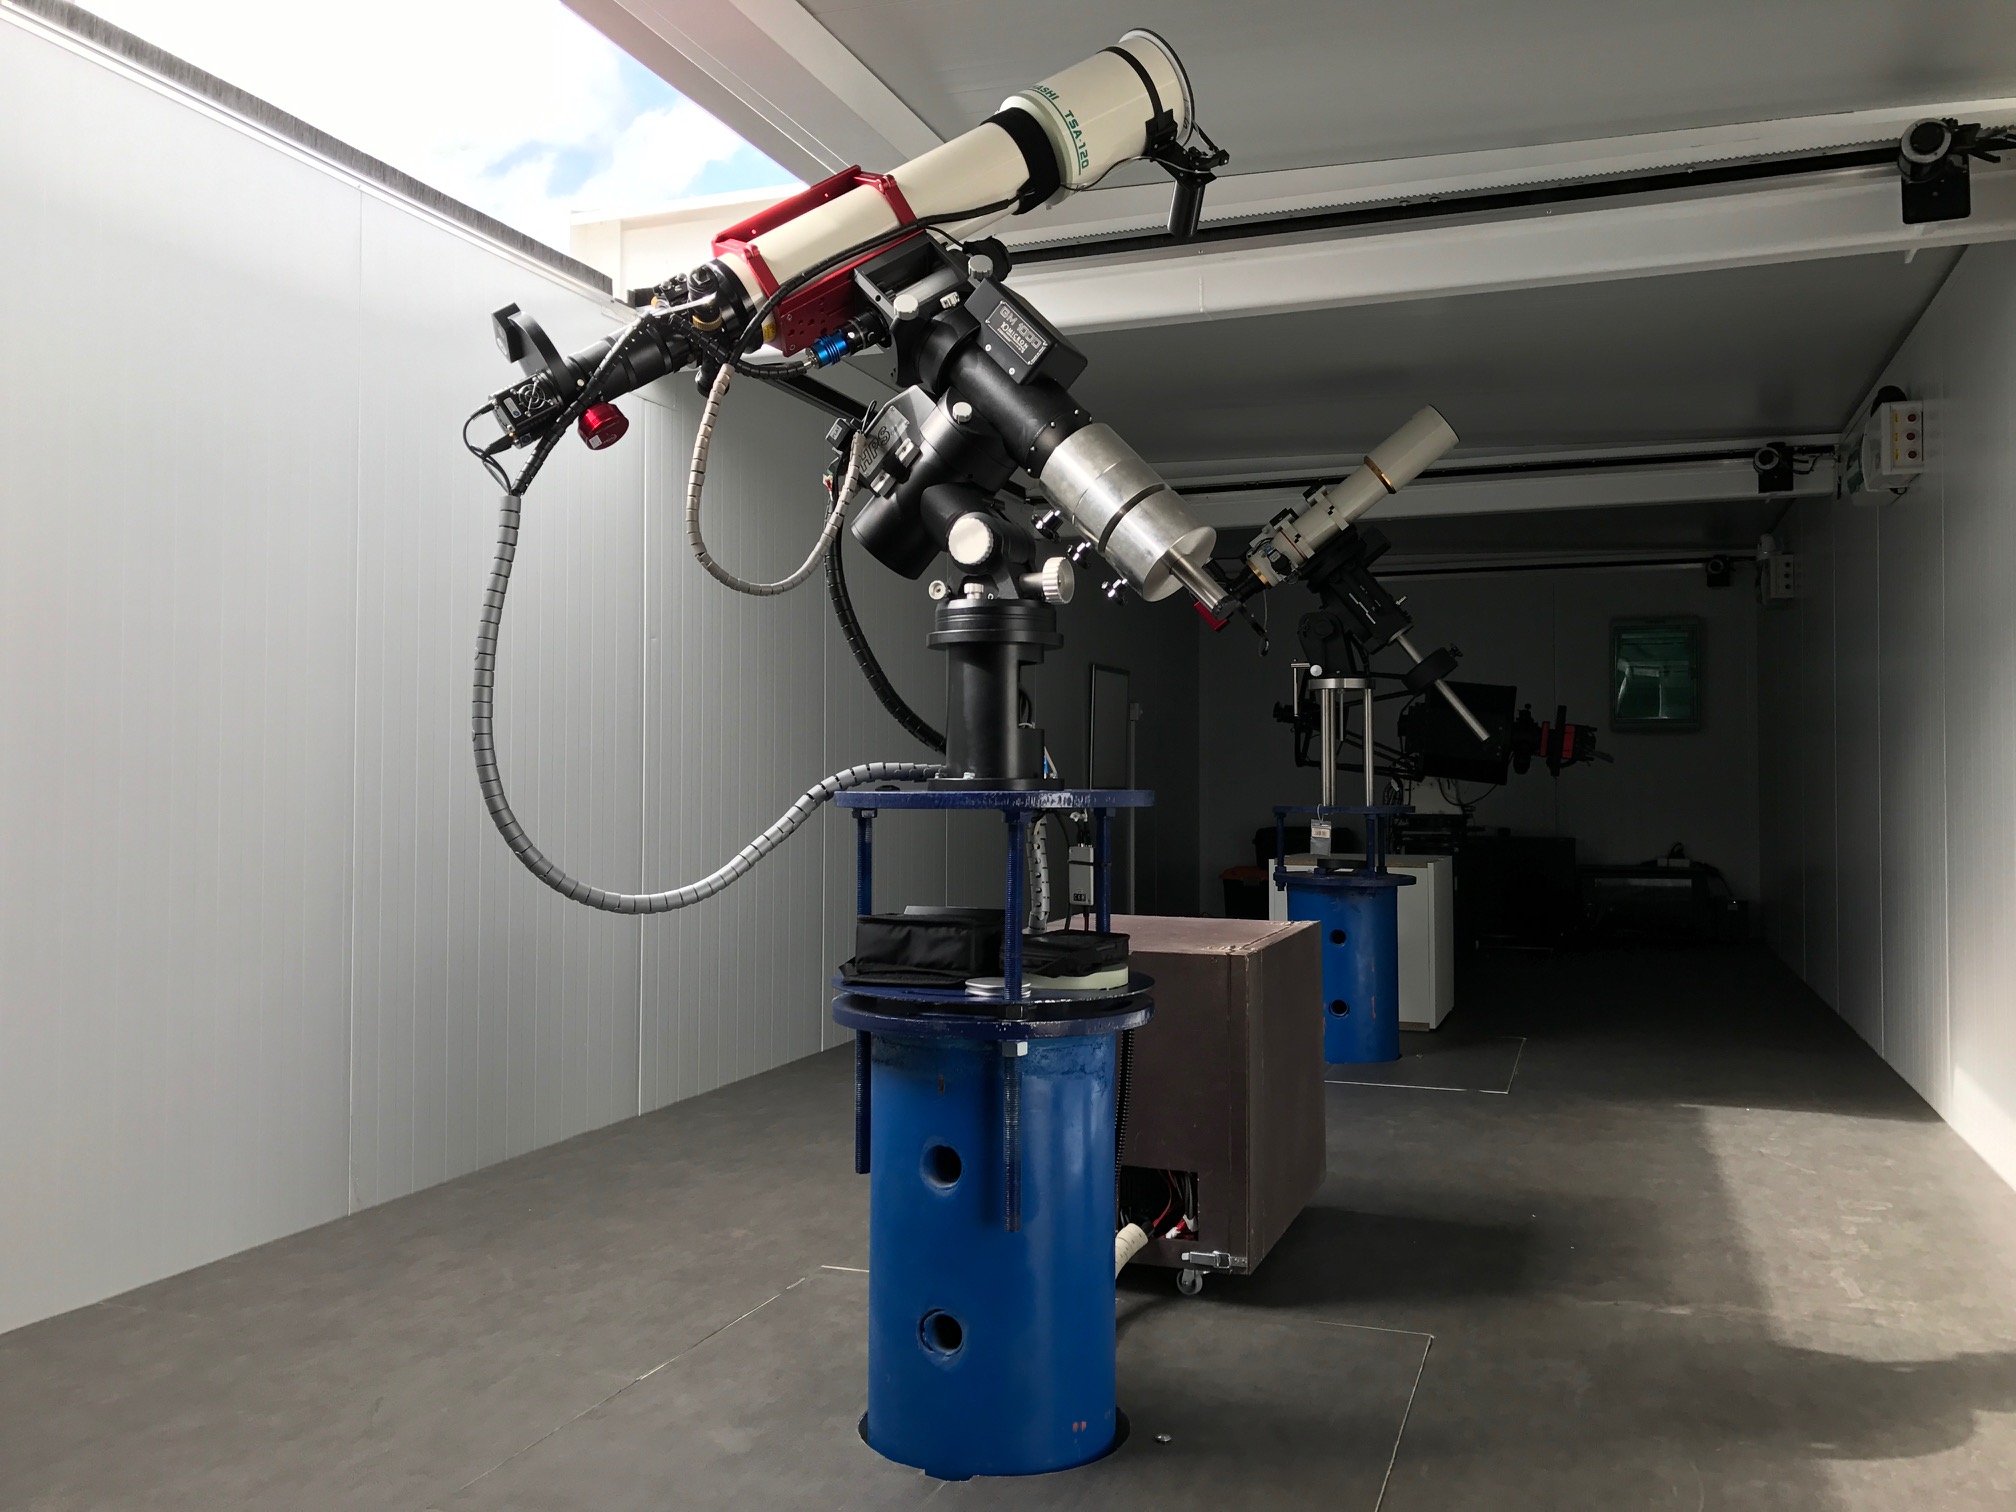
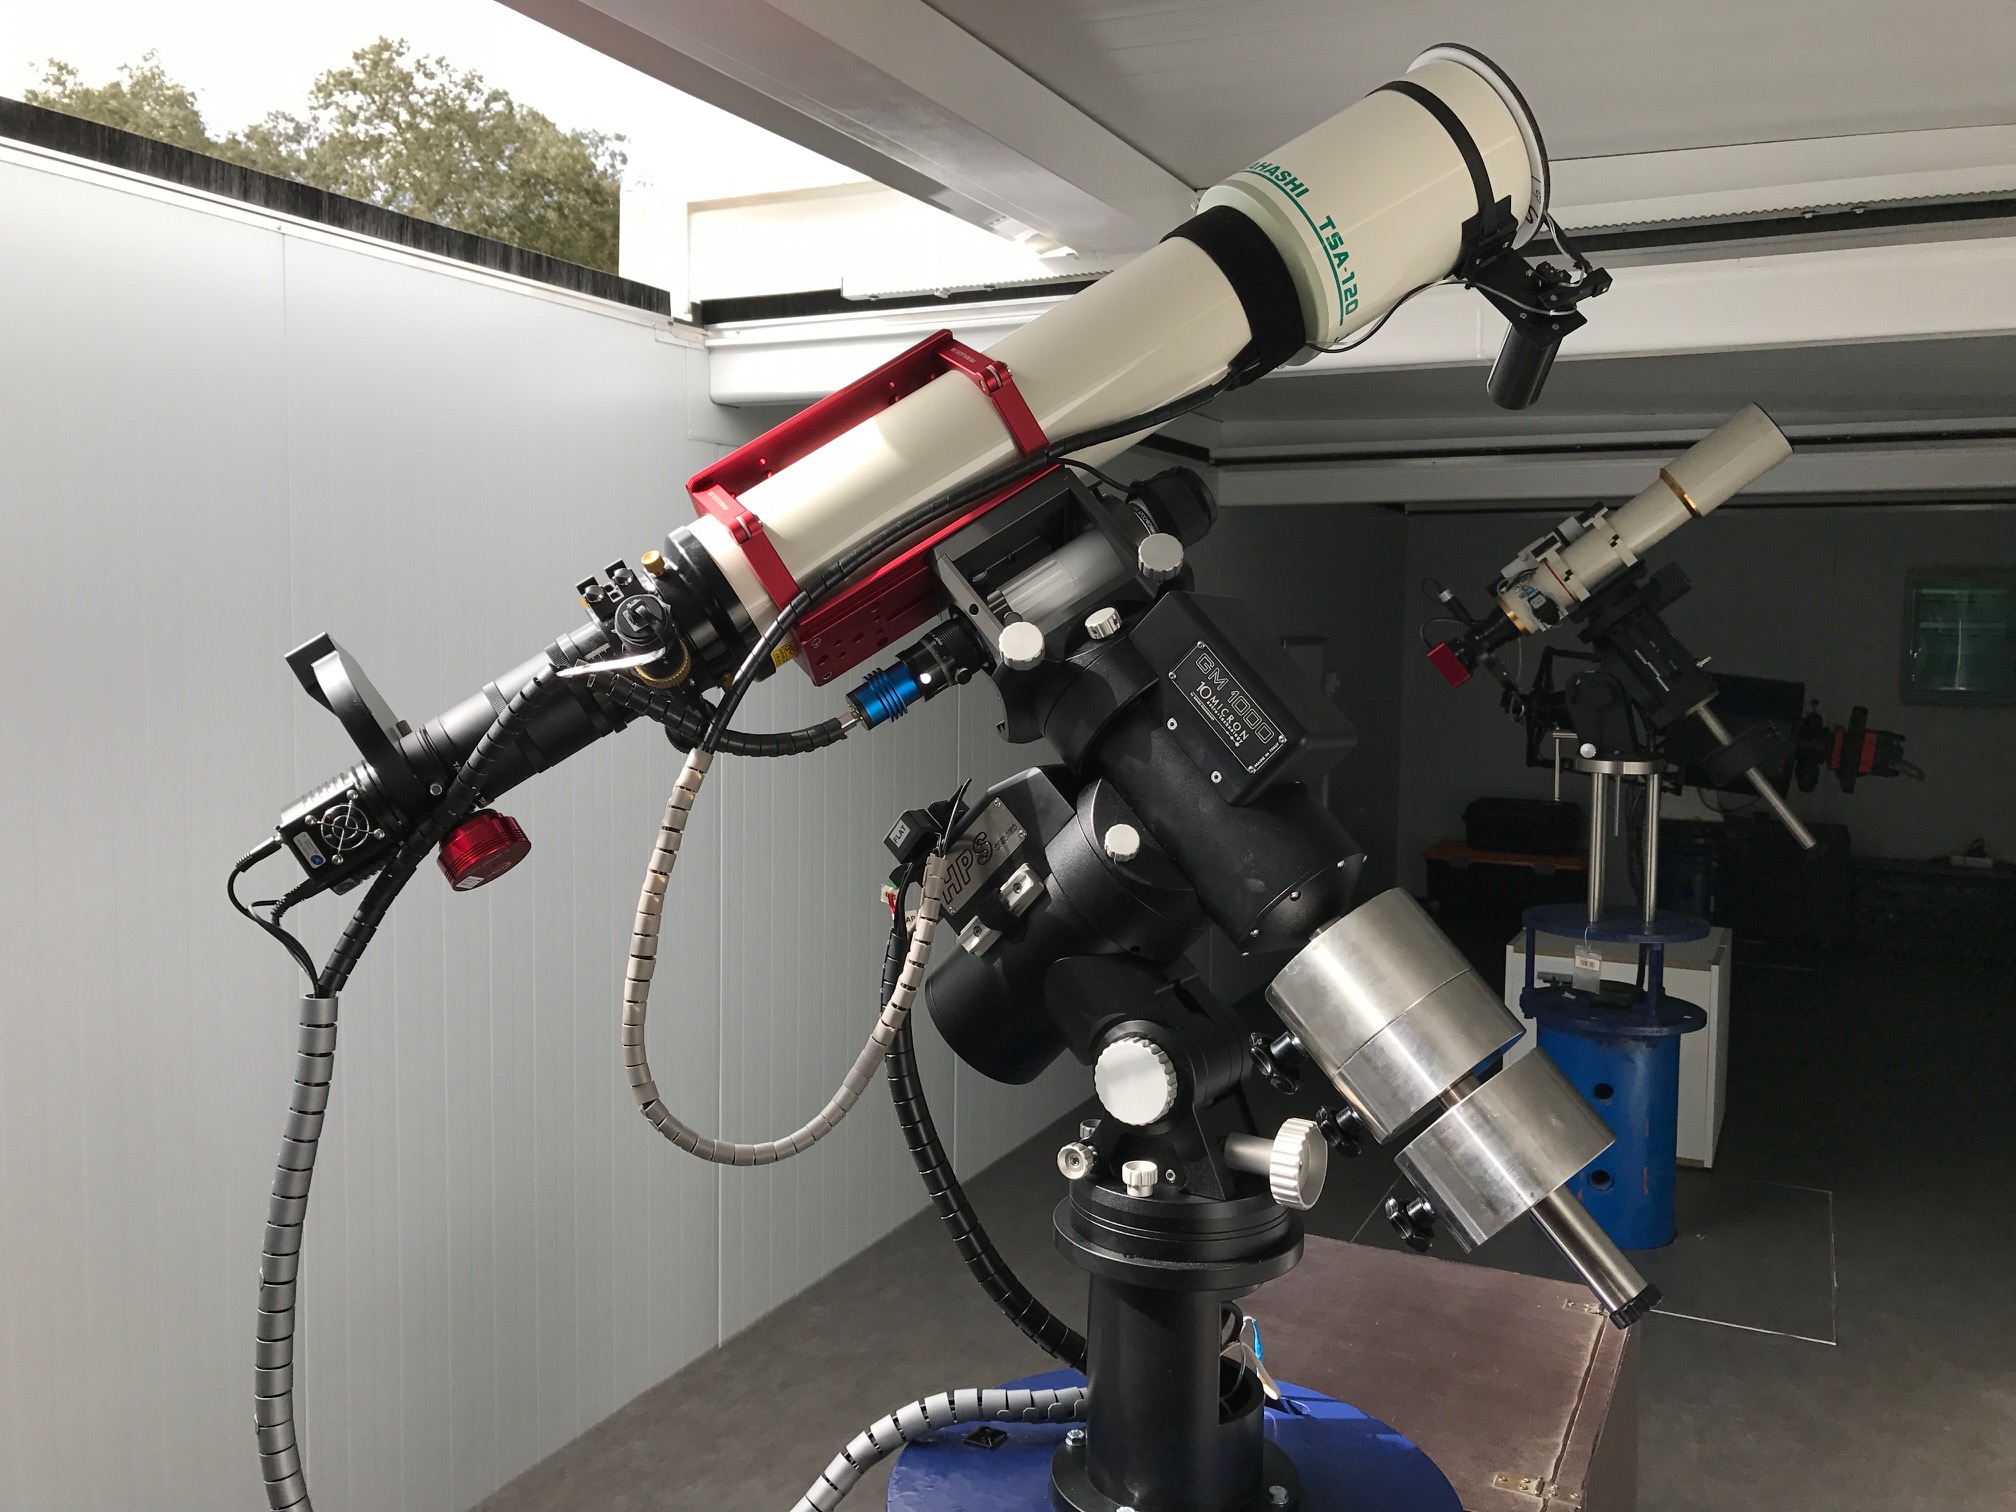
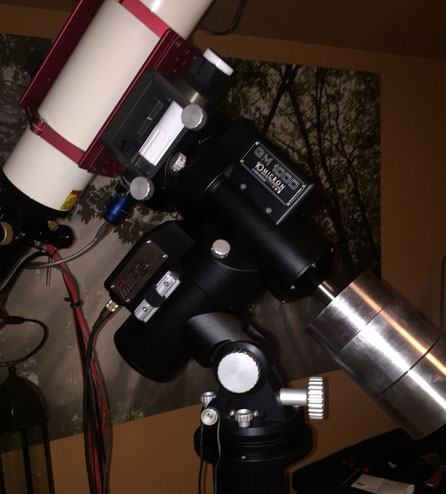
With its ~30kb total weight, incl. the heavy reducer, Guide-Scope, Starlight Xpress SX-46 (KAF-16200) CCD etc, the GM1000 would not have been able to hold the scope so i sent over my red GM2000 QCI, which i used for my mobile kit over the last few years, over to e-eye as well. 36kg of counterweights hold the system in balance and the setup is rock-solid.
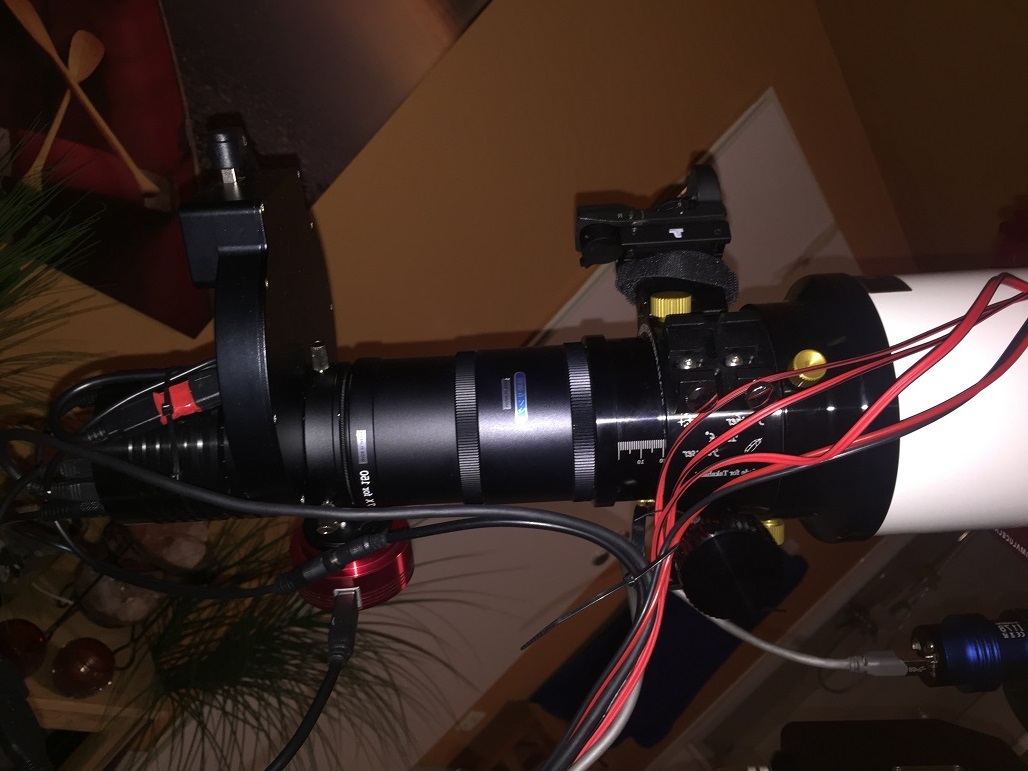
I paid a lot of attention to proper cable-management. Actually, there is 1x230v and 1xUSB3 going to the mount only.
I am not 100% happy with the guide scope location as it should be located more to the back for better stability. Also, i have to say that the focuser is not very stable. Will work on this on my next visit.
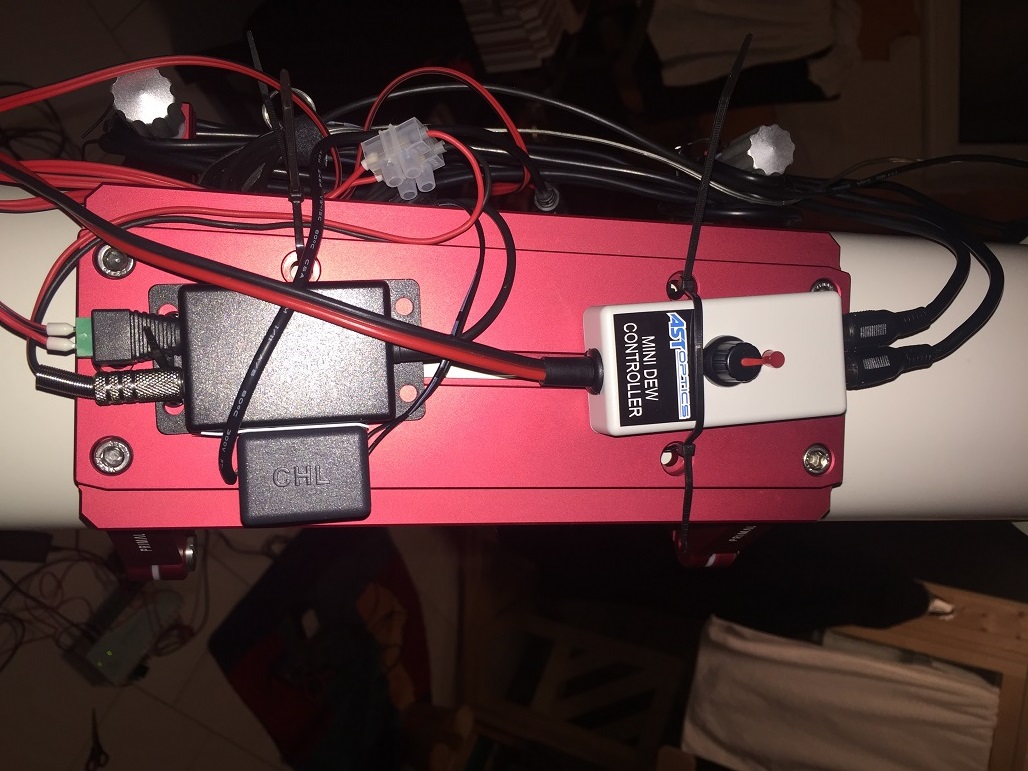
The power converter is located on the lower dovetail bar and delivers 13,5v to the blue Pegasus Power/USB distribution box. I decided for Pegasus as it gives the option to fully disconnect and reconnect (power AND data) USB devices. It also drives the focuser on the guide scope.
First-Light 2017


Finally ready - i thought - but there are always issues after such a complex setup as you can read below. My new, higher pier extension has been finished and is on this way to Spain.
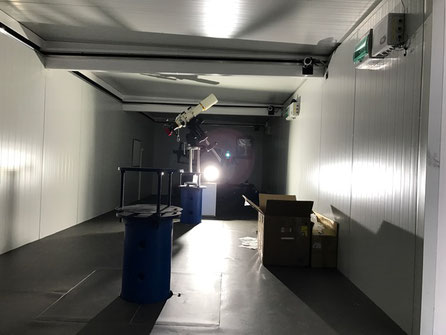
At E-Eye you can control your PC using Teamviewer or any other remote control software you like. I found Teamviewer working best over low laceny connections and much better than RDP. One of the pictures above shows my desktop and the running programs: Talon (Roof control), 10 Micron Keyboard (Mount Control), Dragonfly (Power control), SGP (Imagaing), Cloudwatcher and the Webcam's output. The MBox control program to feed the mount with environmental data cannot be seen but is running in the background.
All is working very well and the cloudwatcher is directly connected to the talon and will close the roof if clouds are approaching, power or internet is lost. Obviously you could automate the full session: Open roof, unpark mount, Power up CCD/Focuser, goto Object, focus, integrate, Power down, Park, close roof.
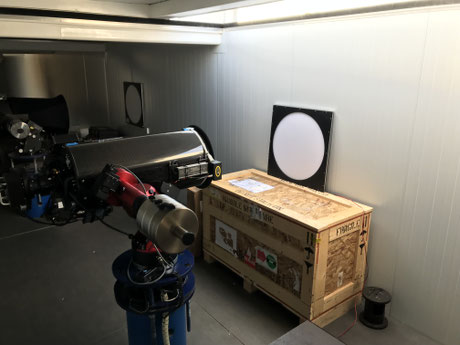
Flat's
After Jose has finsihed with the setup i found that Flats showed some strange shadows is upper left corner. Triggering Jose, we found that the Off Axis Guider is in the light path. Apparently, it moved during transport.
SX + SGP
After having sorted the Flat issue, SGP's autofocus routine did not work but Maxim was fine. The first picture of a focus run was far off the second and third. After hours of searching, the ASCOM driver V5.5 of the Starlight Xpress CCD was identified as the root cause. When taking a Flat, the Picture shows a Flat - all good. Now you take a Dark and guess what: You get a Flat. Now you take a 2nd Dark and get a Dark. It looks like that the driver caches the picture for some reason. Upgrading the ASCOM driver to V6.2. solved the issue. Maxim was always working as it does not use ASCOM.
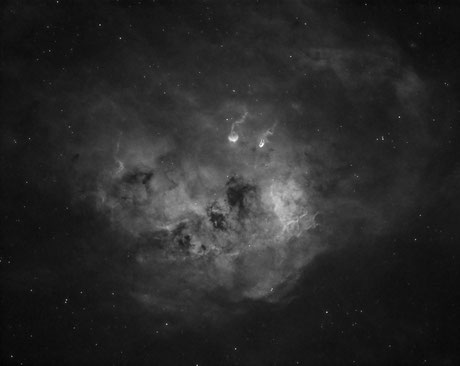
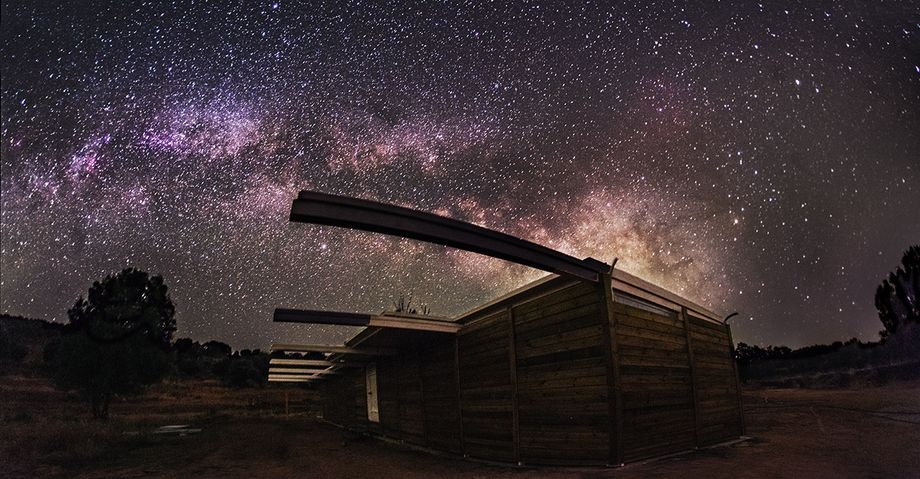
This quick First Light picture taken under near full moon and some dusty skies. However, i am surprised about the good result!
This picture shows off the otherwise faint emission nebula IC 410 in the constellation Auriga through a H-alpha narrow band filter. The image data traces the emission from hydrogen atoms in the nebula.
It features two remarkable inhabitants of the cosmic pond of gas and dust just above the center, the tadpoles of IC 410.
8x10min Ha
After adding some more expose time, this is the final image.
15x10min Ha
17x10min O3
20x10min S2
total 8:40hrs
Color mapping is R:G:B to HA:O3:S2

Set-up at e-EyE 2017
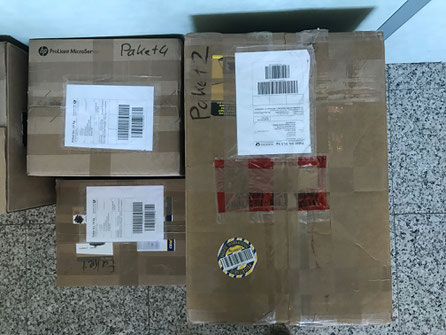
8 packages in total, 100kg in weight finally arrived at E-EyE. First inspection shows no damage. What a relief! Cannot say that i am fully satisfied with DHL Express. Shipping to E-Eye took 4-5 business days incl. a weekend in between. I would expect that if sent on a friday, it shoud get delivered on monday. Because i send packages with standard DHL as well, at a much lower rate, there wasn't any significant time benefit - maybe one day.


Free pier, ready for setup.
12.02.17
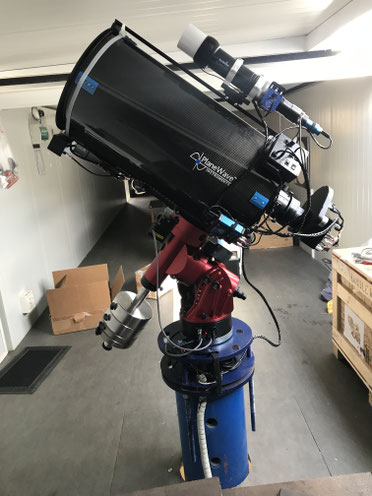
The mount being setup. You can see that i used a small pier extension to add more height to the system. I am hoping that the telescope can move freely without any too strict RA/DE limits.


19.02.17
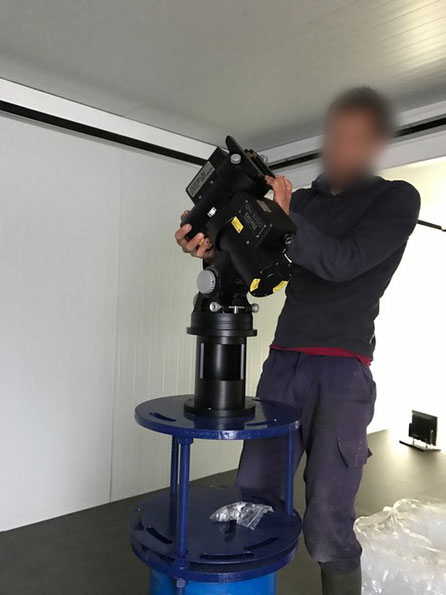
Jose and his team are doing an excellent job in mounting the scope exactly the way i asked for.
This is not final, the cabling is very good already but Jose is working on it to get the cabling more secured.
Unfortunately, the CCD could hit the pier if the scope is pointing 5-10 degrees over the zenith. This is because the pier extension is not high enough. We have mounted the dovetails and rings as much to the back of the scope and i will add a small counterweight to the back to the scope a bit higher but the long term approach would be to get a higher pier extension done.
19.02.17
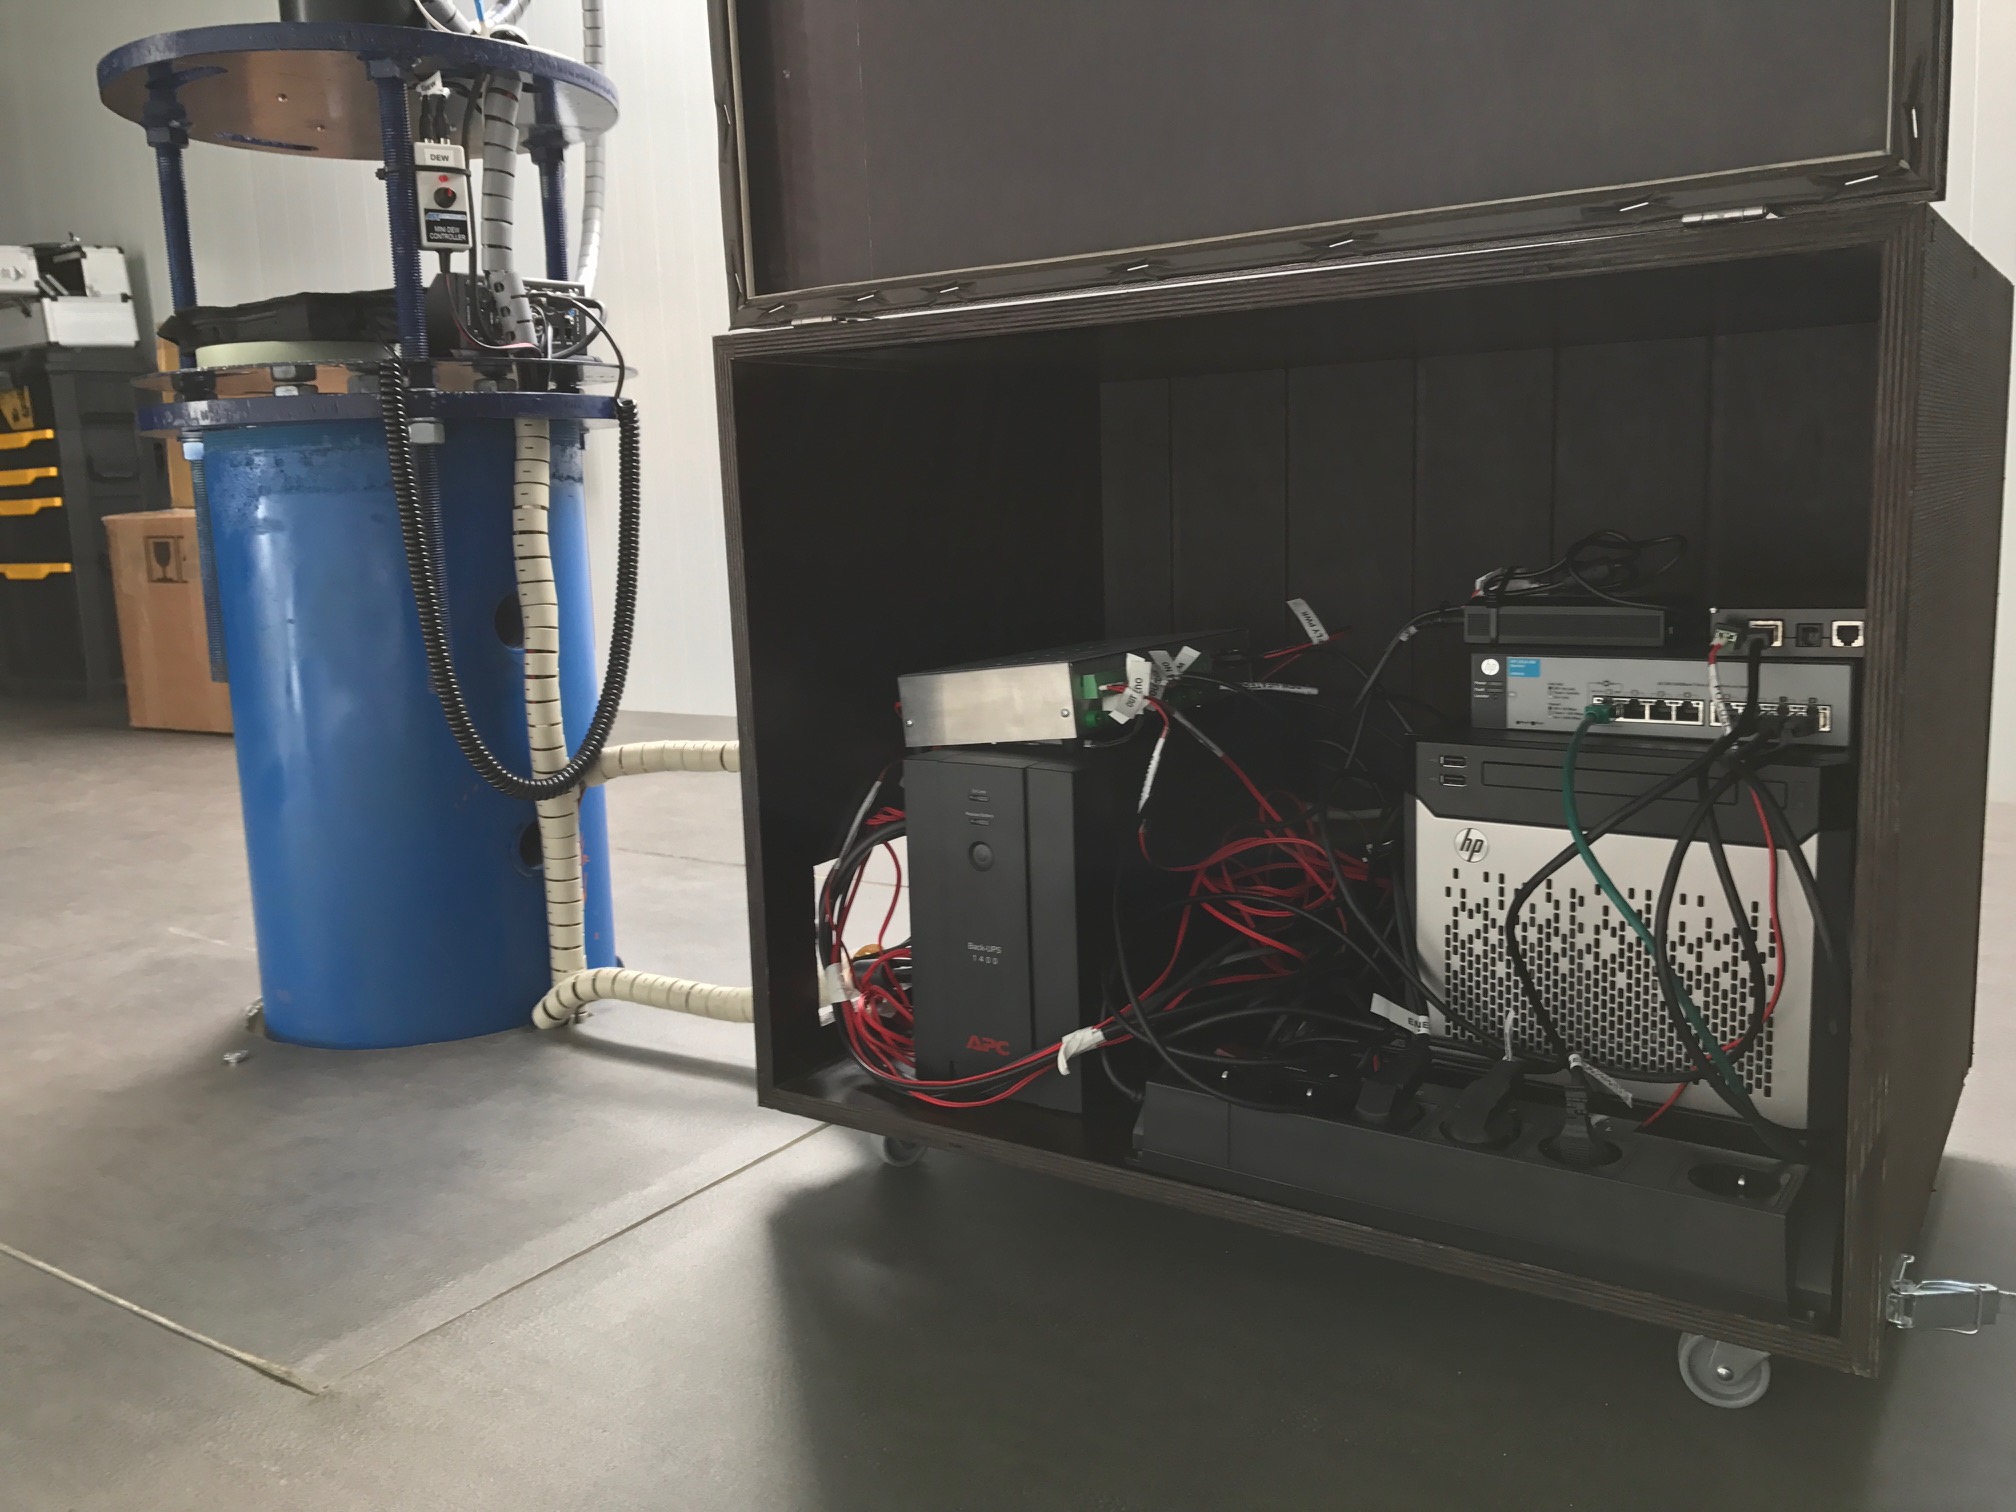
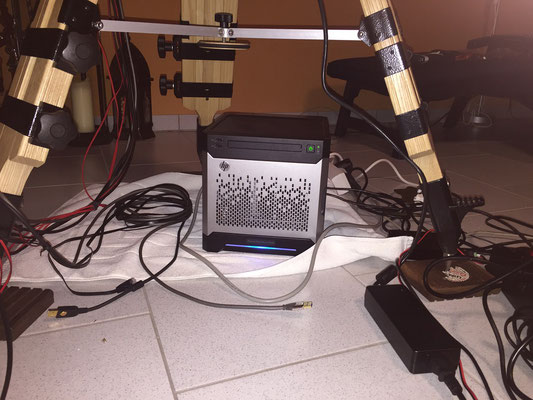
These are the power distribution and supporting devices. All connected and ready to run a first test.


Preparations 2016
What to start with?
Signing up with E-EyE is very easy and straight forward but it gets tricky when comes to making up and preparing the gear. As there is no-one standing 24x7 next to your gear, have you thought about all the eventualies that could happen your your kit in 2000km distance?
-
What needs to happen if there is a power-loss, internet down, computer problem?
-
What needs to happen when weather conditions change, e.g. clouds coming up?
-
How to open/close the roof?
-
How to you open/close the scopes cap?
-
How to do Flats?
-
How do you switch your kit on and on?
-
Can your mount be controlled remotely?
-
Whats happens if you havent put your mount into park mode and you startup your mount?
10Micron 1000HPS Mount
This is not a review of the mount but probably one of the best options when you go for remote imaging. Having tested the 1000HPS for some months, i can say its the best mount i ever had. No requirement of guiding at my focal lenght and the fully automated initialisation are a big plus. When using it mobile, all i do is doing a polar alignment and running the Modelmaker which runs for <10 minutes setting up a 25 stars or more model fully automated. No requirement for a hand-controller.
One of the most useful features for running this mount remotely are its encoders. The mount always knows where it is pointing to, even after a power-cut or switching the mount off without bringing it to a park position before. Additonally, not having the requirement to autoguide, managing imaging sequences becomes much easier. The built-in ability to switch the mount on and off by a relay should be mentioned as well.


Gemini's SnapCap
I have chosen this one because of its integrated Flat panel and ability to open fully at 270°. Its powered by two supplies (Motor/Flat-Panel) but needs three power inputs which is a bit annoying as it requires me to run 3x2 wires to the unit.
Thats because the Motor-Power supply requires one permanent powered 12v source and one 12v to open/close. The 3rd 12v connection switches the Flat panel on/off.
To keep the cables light-weight, i used 0.4qmm wires. The power usage is rated at 0.05A so 0.4qmm is still more than enough. Running the motor and flat at 13.8v did not cause any issues but the motor is running a bit longer than operating at 12v. You have to be aware of this when configuring the open and stop position. Obviously, if you do this its at your risk.
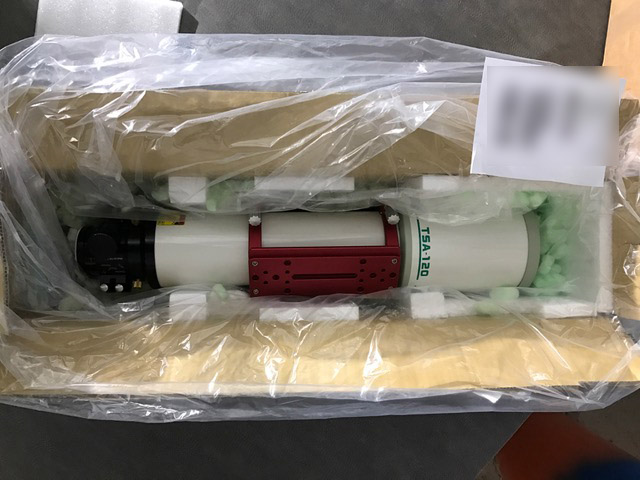
Starlight Xpress Trius 694 + ZWO FW + ASI 120MM-S
The rather small Sony CCD fits very well to the TSA. No major issues with tilt or vignetting. 1.25" filters can be used and the ZWO Filterwheel holds 8 of them, so LRGB and Ha/O3/S2 plus a dark filter can be used. With the ZWO OAG the gear is still well below 55mm and attached to the Reducer using a M56 to M48 Adapter.
The ASI 120MM-S and the filterwheel connect to the Trius built-in USB-Hub. By doing this, there is one USB cable doing from the imiging-gear to the comuter only.
As you can see on the pic, there is one USB Cable (Trius) and 5x 12v cables (3x Snapcap, 1x Dew, 1x Trius). The 2nd picture shows the Borg ED 36 wide-field scope with the QHYIII-178.


HP Microserver Gen8
Offering 2x USB3 and 4x USB2 out of the box, its low price, low power usage, the the ability to have IP based Keyboard/Mouse/Video and remote power off/on made this purchase a no-brainer.
Lunatico's Dragonfly
Most probably, 90% of the time i needed for preparation was used to plan and configure this unit. Simply spoken, its an IP-based relay to switch devices on and off. On one side of the device you connect your sources, the other side connects to the devices.
You can use any voltage up to 230v so i am switching the CCD's power-supply on and off (230v). Other devices like the dew-heaters, flat-panel get powered from a 12v source.
The unit also uses sensors so i connected a simple 4€ 12v power supply + 3€ relay to one of the sensor ports. All my kit is protected from power loss using a UPS (battery). However, this relay is connected before the UPS, so its unprotected. If the observatory loses power, the relay closes and the Dragonfly can run a script to e.g. close the roof, power down the mount, computer, send an alarm etc.
The Cloudwatcher and roof control are not connected at this stage but will be onsite.

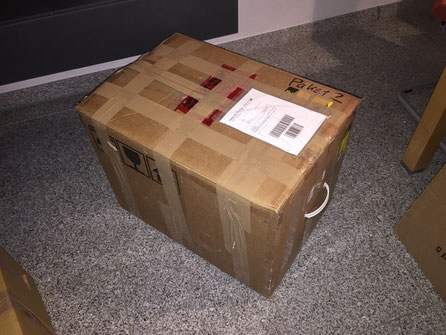
Ready to ship! End of Jan i started shipping the first packages incl. the mount. It shoudn't take more than 2-3 days to Spain but who knows.
Because of the expensive goods, i insured it as high as possible with DHL.
I kept the original packaging of the mount so this should be fine. You can buy a new packaging from 10Micron for 100€ though!
Today, exactly one week later, Jose informed me that the three packages arrived! Cannot say that i slept very well over the last week :)
Next is the scope but will use DHL Express. I do not want the scope to be travelling for a week.
(update) Last pieces sent today, 07.02. . Next will be setting the whole thing up!
E-EyE 2016
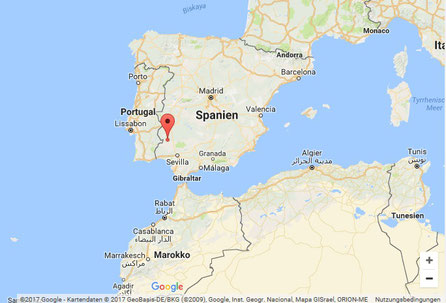
E-EyE is a 100% telescope hosting facility in in Extremadura, Spain. What you get is a pier, electics, internet, a software controllable pier and onsite support. So its your kit, you are responsible and is very different from buying minutes at some other peoples kit. Actually, its just as having a observatory next to your house and you have to deal with all the issues that might come up.
I am not sure how i came across E-EyE, probably a post on Cloudynights. Anyway, i was looking for a remote site for some time. As close as possible to be able to go there - just in case but without customs in between. E-EyE is run by Jose and getting in touch was easy and Jose is very helpful in expaining and delivering the requirements to get started.
There is a checklist that you actually have to go through but is very easy if you are a experienced astronomer.
I was thinking about going down there to install the kit myself but cannot do because of no time. Thats a shame but luckily Jose offers the setup for a reasonable fee. I trust that he will do this right. He offered watching him doing so using video conferencing.
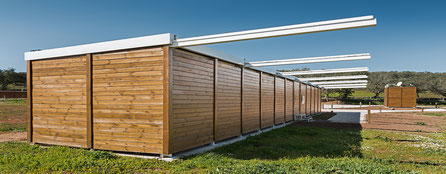
Remote observatory
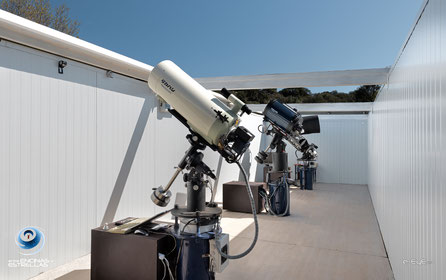
Each observatory is 3x3m, has it's own roof, power and a internet connection. I would need to see this working as i am a bit concerned about what could happen if the roof hasn't been closed by me and bad weather is approaching. Sure, with all that technology like the Cloudwatcher i should be fine but i have had no experience with this yet. Probably i would feel more secure if there would a centrally controlled roof closing mechanism for this.
Recreation
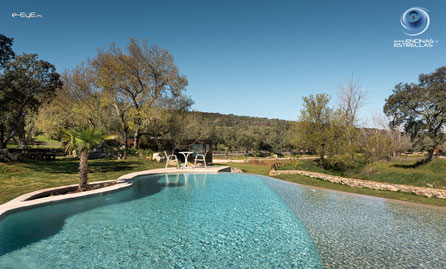
If you want spend some days under good skies, this might be worthwhile considering. I booked some days this year and will post my review!